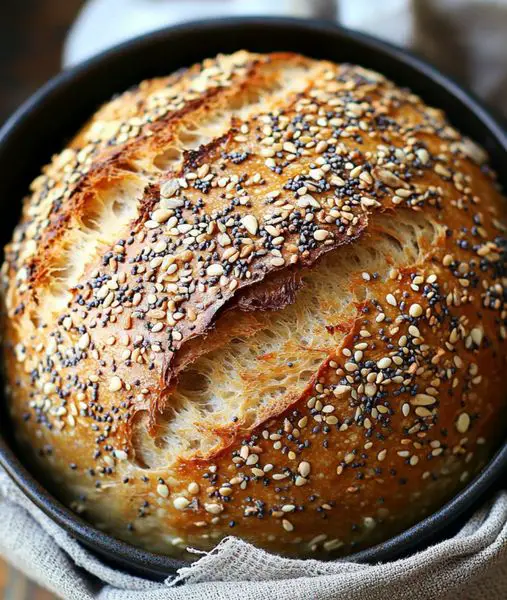
The Ultimate No-Knead Seeded Sourdough Bread: A Rustic Delight
Table of Contents
Ingredients
For this rustic No-Knead Seeded Sourdough Bread, you’ll need:
- 3 cups (375g) bread flour
- 1 1/2 cups (355ml) lukewarm water
- 1/4 cup (60g) active sourdough starter
- 1 tsp (6g) salt
- 1/4 cup (35g) mixed seeds (sesame, flax, poppy)
- Extra seeds for topping
Step-by-Step Instructions
1. Prepare the Dough
I begin by combining the bread flour, lukewarm water, active sourdough starter, and salt in a large mixing bowl. Using a wooden spoon or my hands, I mix these ingredients until a shaggy, sticky dough forms. The key here is not to overmix; we’re looking for a rough, messy consistency. This initial mix allows the flour to hydrate and the fermentation process to begin.
2. First Fermentation
Once the dough is mixed, I cover the bowl with a clean kitchen towel or plastic wrap. Then, I let it rest at room temperature (around 70°F or 21°C) for 12-18 hours. This long, slow fermentation is where the magic happens. During this time, the wild yeast and bacteria in the sourdough starter work tirelessly, breaking down complex carbohydrates, developing flavor, and creating the characteristic open crumb structure of artisanal bread.
3. Incorporate the Seeds
After the initial fermentation, I gently fold the mixed seeds into the dough. This step not only adds texture and nutrition but also introduces pockets of flavor throughout the bread. I use a combination of sesame, flax, and poppy seeds, but feel free to experiment with your favorite seed mix.
4. Shape the Loaf
Next, I turn the dough out onto a lightly floured surface and shape it into a round loaf. I use a gentle folding technique to create surface tension, which helps the bread maintain its shape during baking. The key here is to handle the dough as little as possible to preserve the air bubbles that have formed during fermentation.
5. Second Rise
I place the shaped loaf in a proofing basket or a bowl lined with a well-floured kitchen towel, seam side up. This second rise, also known as proofing, takes about 2-3 hours at room temperature. During this time, the dough continues to ferment and develop flavor while also gaining volume.
6. Preheat the Oven
About 30 minutes before baking, I preheat my oven to 450°F (230°C) with a Dutch oven inside. The Dutch oven creates a steamy environment that mimics professional bread ovens, resulting in a crispy crust and better oven spring.
7. Prepare for Baking
When the dough is ready, I carefully turn it out onto a piece of parchment paper. Using a sharp knife or bread lame, I score the top of the loaf. This not only adds a beautiful decorative touch but also allows for controlled expansion during baking. I then sprinkle additional seeds over the top for extra texture and visual appeal.
8. Bake to Perfection
I carefully lower the parchment paper with the dough into the preheated Dutch oven. I bake the bread with the lid on for 30 minutes, which traps steam and helps develop a crispy crust. Then, I remove the lid and continue baking for another 15-20 minutes until the bread is golden brown and sounds hollow when tapped on the bottom.
9. Cool and Enjoy
After baking, I transfer the bread to a wire rack to cool completely. This cooling period is crucial as it allows the crumb to set and the flavors to fully develop. Once cooled, my No-Knead Seeded Sourdough Bread is ready to be sliced and savored.

