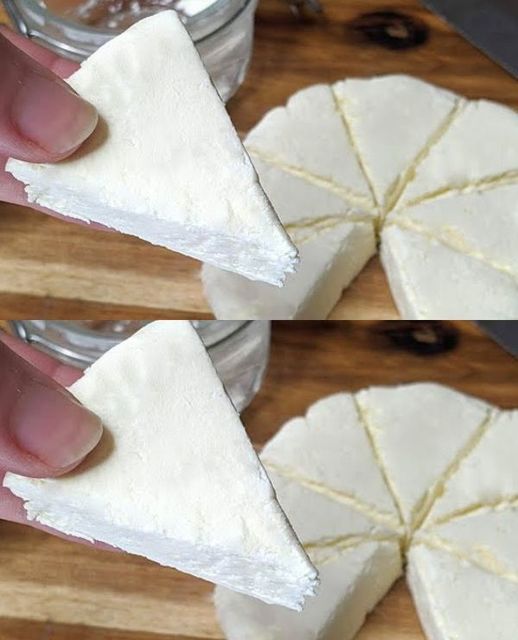
Make Your Own Homemade Cheese in 5 Minutes!
Introduction
Creating your own homemade cheese is a quick and rewarding experience. This simple recipe uses only a few ingredients and can be made in just five minutes. Whether you use whole milk or low-fat milk, the result is a creamy, delicious cheese that you can enjoy in various dishes. Let’s get started on this easy and delightful cheese-making journey.
Ingredients
For this recipe, we provide measurements in both USA and European metrics to ensure accuracy and convenience.
Main Ingredients:
- Whole Milk (or low-fat milk): 1 liter (4 cups)
- White Vinegar: 3 tbsp (45ml) for whole milk or 4 tbsp (60ml) for low-fat milk
- Butter (salted or unsalted): 20g (1.4 tbsp)
You can also replace the white vinegar with lemon juice if you prefer.
Step-by-Step Instructions
Step 1: Preparing the Milk
- Prevent Burning: Add a little water to your pot to cover the surface. This helps to prevent the milk from burning when heated.
- Add Milk and Vinegar: Pour in the milk and add the white vinegar according to the type of milk you’re using.
- Heat the Milk: Heat the milk on a medium-low flame, stirring occasionally to prevent burning.
Step 2: Curdling the Milk
- Forming Curds: As the milk heats up, it will begin to thicken and form curds. Keep stirring gently until a thick layer of foam forms on the surface.
- Turn Off the Flame: Once the milk starts to curdle and separate, turn off the flame.
Step 3: Straining the Curds
- Separate Curds and Whey: Place a sieve over a clean bowl and pour the curdled milk through it. Press gently with a spatula to drain out excess whey.
- Alternative Straining: If you don’t have a sieve, cheesecloth works just fine too.
Step 4: Blending and Seasoning
- Blend the Curds: Transfer the drained curds to a blender and add the butter.
- Blend Until Smooth: Blend on high speed until the mixture is smooth and creamy.
- Optional Seasoning: For an extra kick, feel free to sprinkle in some salt to taste.
Step 5: Final Touches
- Drying the Cheese: Once blended to perfection, transfer your homemade cheese to a plate lined with gauze. Press out any remaining liquid and allow it to dry completely.
Storage Tips
- Refrigeration: Store the homemade cheese in a glass jar and keep it refrigerated for up to 5 days.
- Freezing: For longer storage, freeze the cheese in an airtight container for up to 3 months.
Uses of Homemade Cheese
Homemade cheese is versatile and can be used in various ways:
- Snacks: Spread it on bread or crackers for a delicious snack.
- Sandwiches and Wraps: Use it as a filling for sandwiches or wraps.
- Pasta and Salads: Incorporate it into pasta dishes or salads for added flavor and creaminess.
Conclusion
Making your own homemade cheese is a simple and quick process that yields a delicious, creamy product perfect for a variety of dishes. With just a few basic ingredients and a little bit of time, you can enjoy fresh, homemade cheese any time you want. Happy cheese making!

