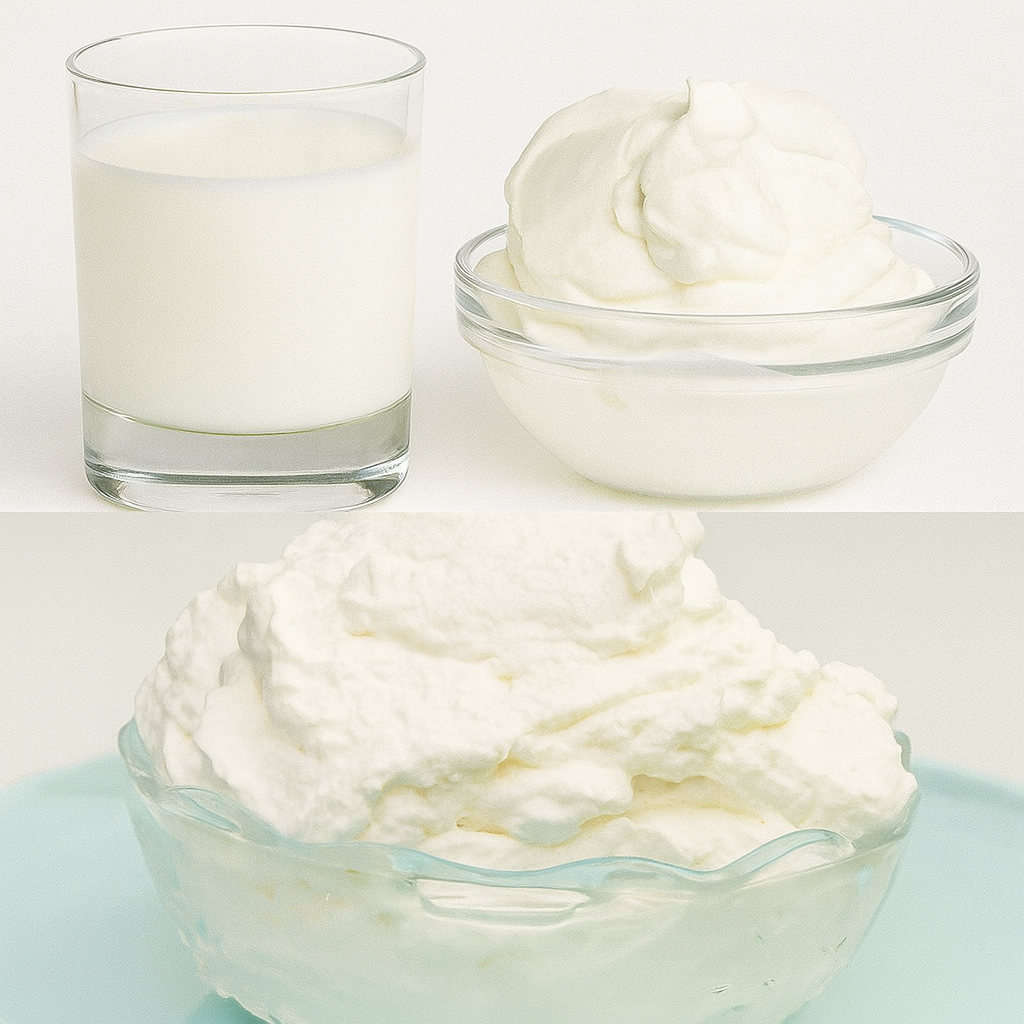
Light & Fluffy Homemade Whipped Cream – With Just Milk and Gelatin!
Try it today and enjoy this delicious whipped cream made by you!
Looking for a healthier, preservative-free topping to elevate your desserts and drinks? This light, airy homemade whipped cream is made using just a few simple ingredients—no heavy cream needed. It’s perfect for anyone seeking a budget-friendly, natural alternative with no added sugar.
Whether you’re garnishing a cake, sweetening your fruit, or topping off a hot chocolate, this versatile recipe delivers a luscious whipped texture that’s hard to beat.
Ingredients You’ll Need
-
1 cup whole milk
-
1 teaspoon unflavored gelatin
-
2 teaspoons cold water (for hydrating gelatin)
-
1 teaspoon vanilla extract (optional, for added flavor)
Step-by-Step Guide: How to Make Homemade Whipped Cream
1. Activate the Gelatin
In a small bowl, mix 1 teaspoon unflavored gelatin with 2 teaspoons of cold water. Let it sit for 3–5 minutes. The gelatin will bloom, absorbing the water and forming a jelly-like texture.
Tip: This step is crucial for stabilizing the whipped milk later.
2. Heat the Milk
Gently warm 1 cup of whole milk in a small saucepan over medium-low heat. Do not let it boil—just heat until it’s warm to the touch.
Remove from heat once warmed through.
3. Mix in the Gelatin
Add the bloomed gelatin to the warm milk. Stir until the gelatin is completely dissolved and the mixture is smooth.
4. Chill the Mixture
Transfer the gelatin-milk blend to the refrigerator and let it chill for about 10 minutes. You want it slightly thickened, but not fully set.
❄️ Tip: Cold is key! For best whipping results, also chill your mixing bowl and beaters ahead of time.
5. Whip It Up
Using an electric mixer on high speed, beat the chilled mixture for 5–7 minutes. It will gradually transform into a light and fluffy whipped cream with soft peaks.
6. Add Flavor (Optional)
For extra aroma and flavor, add 1 teaspoon vanilla extract while whipping.
Pro Tips for Perfect Homemade Whipped Cream
-
Pre-chill your tools: Cold beaters and mixing bowl help the cream hold its shape.
-
Don’t overbeat: Once soft peaks form, stop. Overbeating can cause it to become grainy or too firm.
-
Storage: Store in an airtight container in the refrigerator for up to 2–3 days. Re-whip gently if it deflates slightly.
Delicious Ways to Use Your Whipped Cream
-
Dessert Decoration: Dollop onto cakes, pies, cupcakes, or trifles.
-
Fruit Topping: Serve with fresh berries, mangoes, peaches, or fruit salad.
-
Hot Drinks: Spoon onto lattes, cappuccinos, hot chocolate, or chai.
-
Filling: Use as a light filling for crepes, eclairs, or sponge rolls.
Why You’ll Love This Recipe
✅ Made with simple ingredients
✅ No heavy cream or added sugar
✅ Light, natural, and preservative-free
✅ Quick and beginner-friendly
✅ Economical and customizable
✨ Final Thoughts
This natural whipped cream recipe is a perfect example of how simplicity can be delicious. Whether you’re cutting back on cream, avoiding sugar, or just want a lighter topping, this recipe fits the bill beautifully.
Enjoy the satisfaction of making your own whipped cream—soft, smooth, and made with love. Give it a try today and add a fresh, creamy finish to your next dessert or drink! ☕

