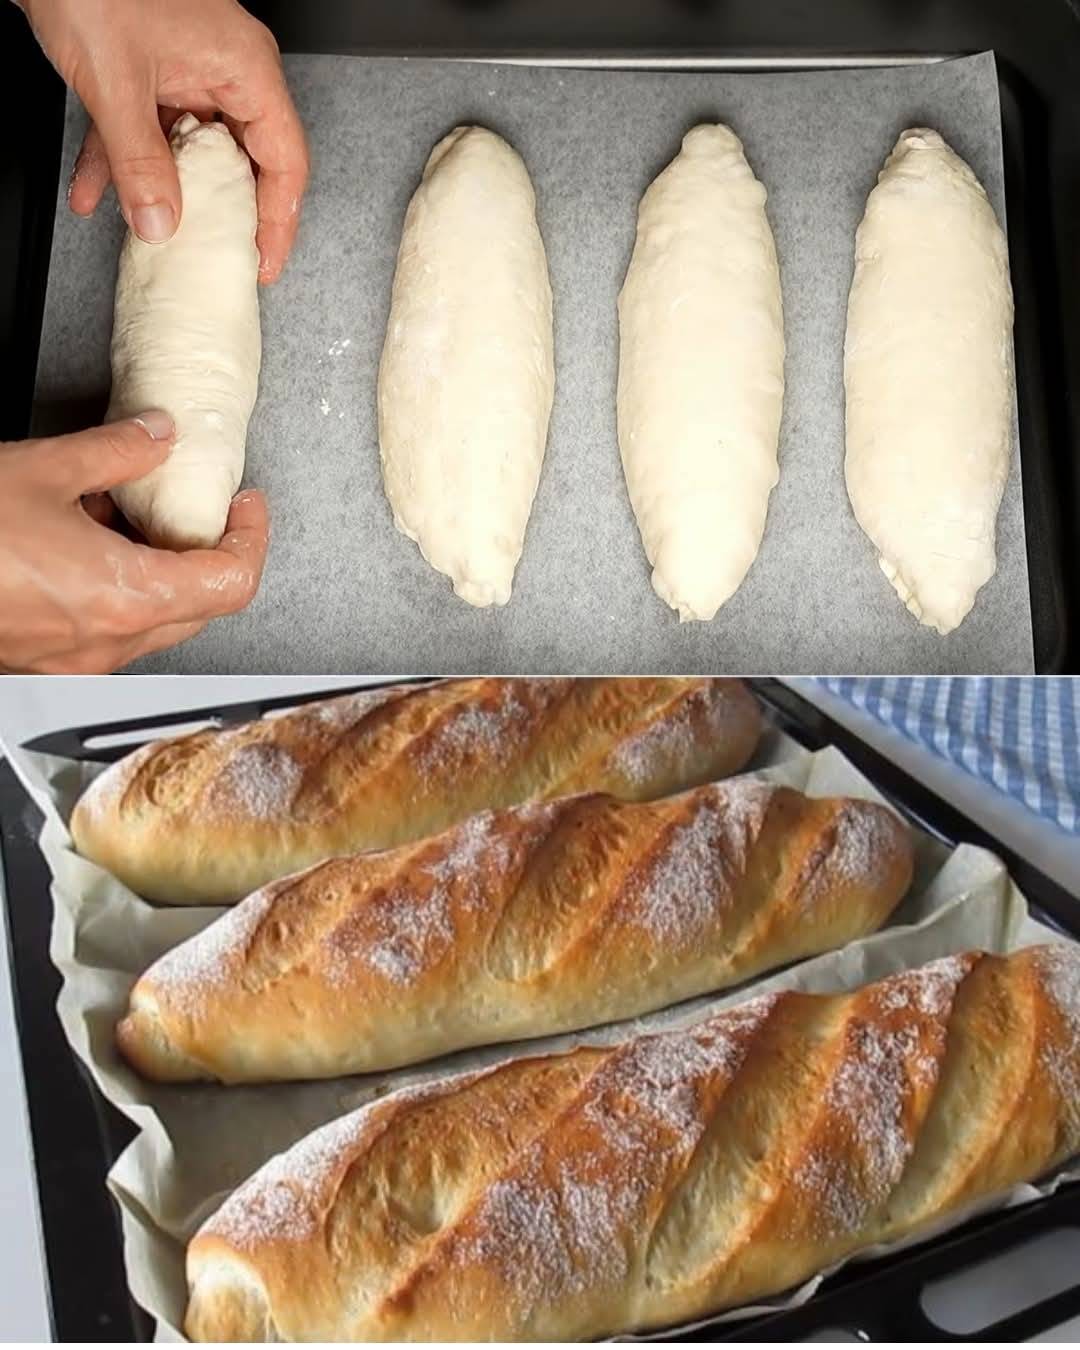
Homemade Olive Oil Bread Recipe
This homemade olive oil bread is the perfect addition to any meal. With its soft and fluffy texture and a subtle hint of olive oil, this bread is as versatile as it is delicious. Whether you’re pairing it with soup, using it for sandwiches, or simply enjoying it with some butter, this recipe is sure to become a favorite in your kitchen.
Preparation Time
-
- Prep Time: 15 minutes
- Rising Time: 1 hour 30 minutes
- Baking Time: 30 minute
- Total Time: 2 hours 15 minutes
Ingredients
-
- 4 tablespoons (60 ml) olive oil
-
- 1 tablespoon (10 g) dry yeast
- 1 teaspoon salt
- 1 1/3 cups (320 ml) warm water
- 4 3/4 cups (570 g) plain flour
Directions
Step 1: Activate the Yeast
- In a small bowl, combine the warm water and dry yeast. Let it sit for about 5-10 minutes until the yeast becomes frothy.
Step 2: Mix the Dough
-
- In a large mixing bowl, combine the flour and salt.
- Create a well in the center and pour in the olive oil and the activated yeast mixture.
- Mix with a wooden spoon or your hands until a rough dough forms.
Step 3: Knead the Doug
- Transfer the dough to a floured surface and knead for 8-10 minutes until it becomes smooth and elastic. If the dough is too sticky, add a little more flour, one tablespoon at a time.
Step 4: First Rise
-
- Place the dough in a lightly oiled bowl, cover it with a damp cloth, and let it rise in a warm place for about 1 hour or until it doubles in size.
Step 5: Shape the Dough
- Punch down the dough to release any air bubbles. Shape it into a loaf or divide it into smaller portions for rolls. Place the shaped dough onto a baking tray or into a loaf pan.
Step 6: Second Rise
- Cover the dough again and let it rise for another 30 minutes.
Step 7: Bake the Bread
-
- Preheat your oven to 200°C (400°F).
- Bake the bread for 25-30 minutes, or until the top is golden brown and the loaf sounds hollow when tapped on the bottom.
Step 8: Cool and Serve
-
- Remove the bread from the oven and let it cool on a wire rack before slicing.
Serving Suggestions
-
- Serve warm with a drizzle of olive oil and a sprinkle of sea salt.
- Pair with soups, stews, or salads for a complete meal.
-
- Use for sandwiches or paninis with your favorite fillings.
- Toast slices and enjoy with butter and jam for breakfast.
- Serve as a side with pasta dishes or dips like hummus and tzatziki.
Cooking Tips
-
- Use high-quality olive oil for the best flavor.
- Ensure the water is warm but not hot, as high temperatures can kill the yeast.
-
- For a crusty top, brush the dough with water or olive oil before baking.
- Add herbs or garlic to the dough for extra flavor.
- Let the bread cool slightly before slicing to avoid squishing the loaf.
Nutritional Benefits
-
- Olive Oil: Rich in healthy monounsaturated fats and antioxidants.
- Yeast: Provides a good source of B vitamins.
- Flour: Offers energy-rich carbohydrates.
Dietary Information
-
- Vegetarian-Friendly: Suitable for vegetarians.
- Vegan-Friendly: Use plant-based olive oil.
- Contains gluten.
Nutritional Facts (Per Slice)
-
- Calories: 150
- Protein: 4 g
- Carbohydrates: 24 g
- Fat: 4 g
- Fiber: 1 g
Storage
- Room Temperature: Store in an airtight container for up to 2 days.
- Freezer: Freeze slices in a zip-top bag for up to 3 months. Thaw and reheat as needed.
Why You’ll Love This Recipe
-
- Easy to Make: Perfect for beginner bakers.
- Versatile: Works for any meal, from breakfast to dinner.
- Flavorful: The olive oil adds a subtle, rich flavor
- Healthy: Made with simple, wholesome ingredients.
- Customizable: Add herbs, spices, or seeds to make it your own.
Conclusion
This homemade olive oil bread is a timeless recipe that’s sure to impress your family and friends. With its soft texture and rich flavor, it’s a delight to bake and share. Whether enjoyed fresh from the oven or toasted the next day, this bread will quickly become a staple in your home.

