Table of Contents
hide
Homemade Cheese Recipe
Ingredients
- Milk: 2 liters (8.5 cups), store-bought
- Salt: 1 tablespoon
- Eggs: 4 large
- Yogurt: 200 grams (7 oz)
Additional Ingredients for Serving:
- 1 pepper, sliced
- Your favorite bread
- Greens (e.g., lettuce, spinach, arugula)
Nutritional Information (Per 50 g Serving of Cheese)
- Calories: 80
- Protein: 5 g
- Carbohydrates: 1 g
- Sugars: 1 g
- Fat: 6 g
- Saturated Fat: 3 g
- Cholesterol: 70 mg
- Sodium: 220 mg
- Calcium: 150 mg
Step-by-Step Instructions
Step 1: Prepare the Setup
- Place a large casserole on the stove and set a glass jar inside the casserole to create a water bath. This method helps gently heat the milk without direct contact, preventing it from burning.
- Fill the casserole with water around the jar, ensuring the water level is high enough to surround the jar but not overflow into it.
- Turn on the stove and start heating the water over medium heat.
Step 2: Heat the Milk
- Pour the 2 liters of milk into the glass jar placed inside the water bath.
- Add 1 tablespoon of salt to the milk and stir gently to dissolve.
- Heat the milk until it is well warmed but not boiling, stirring occasionally. Aim for a temperature of about 45°C (113°F), which is warm enough to curdle the milk without scalding it.
Step 3: Prepare the Egg Mixture
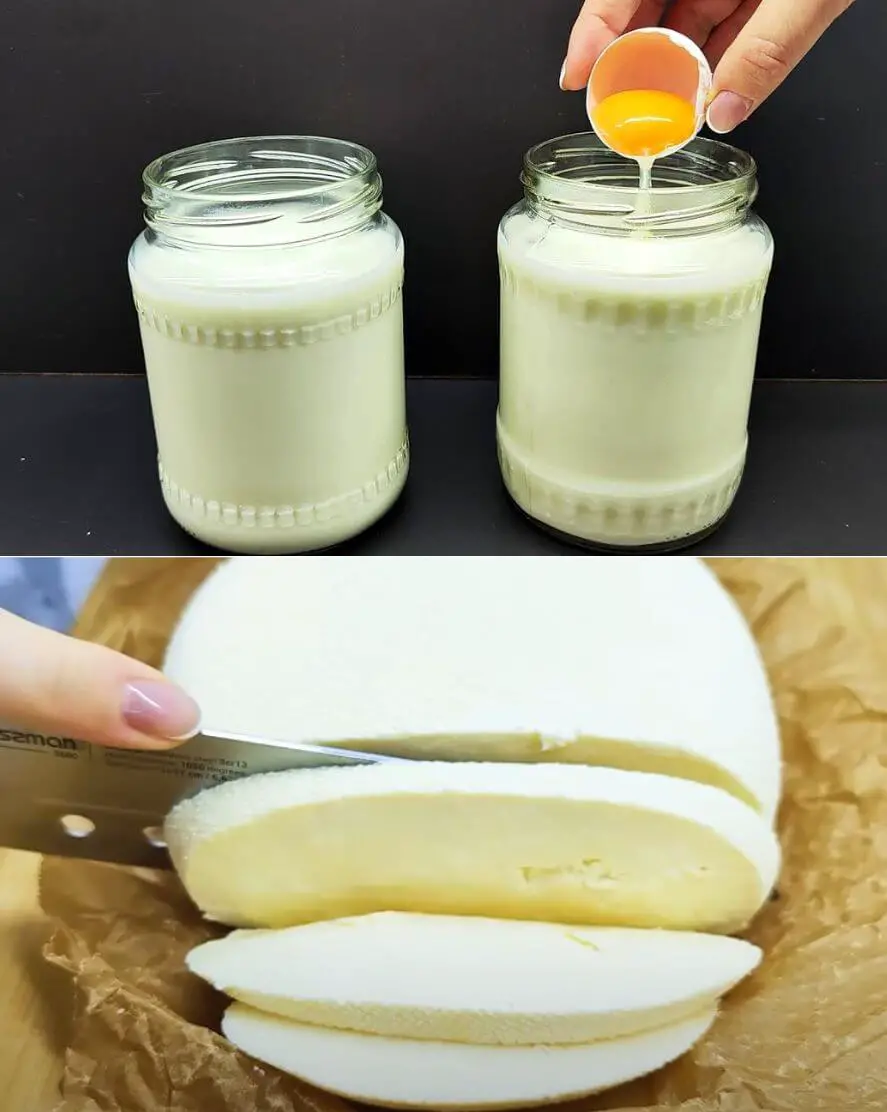
- In a separate bowl, whisk together the 4 eggs and 200 grams of yogurt until the mixture is smooth and well combined. This mixture will help the milk curdle and form cheese.
Step 4: Curdling the Milk
- Slowly pour the egg and yogurt mixture into the warm milk, stirring constantly to prevent the eggs from cooking separately.
- Continue to cook the mixture over medium heat for about 15 minutes, stirring occasionally. You will notice the milk starting to curdle and separate into curds (solid) and whey (liquid).
- Once the curds have formed and the whey is a pale yellow color, the cheese is ready to be strained.
Step 5: Strain the Cheese
- Prepare a sieve or cheesecloth over a bowl. Cheesecloth works best as it allows the whey to drain while keeping the curds intact.
- Carefully pour the curdled milk mixture into the sieve to separate the curds from the whey. Allow the curds to sit in the sieve and drain for about 10 minutes.
- Transfer the curds to a container lined with cheesecloth, fold the cheesecloth over the top, and weigh it down with a small plate or weight to help remove excess moisture.
- Refrigerate the cheese overnight, covered, to allow it to firm up and develop flavor.
Step 6: Prepare the Cheese
- After draining overnight, transfer the cheese to a plate. The cheese should be firm and set, making it easy to slice.
- If desired, you can season the cheese further with herbs, cracked pepper, or a drizzle of olive oil for extra flavor.
Step 7: Serve
- Slice the cheese and serve with your favorite bread, such as baguette, pita, or whole grain, along with sliced pepper and fresh greens like lettuce for a delicious and healthy snack or meal.
- Enjoy your fresh homemade cheese—perfect as a snack, in sandwiches, or alongside a crisp salad.
Tips for Perfect Homemade Cheese
- Use Fresh Milk: Use the freshest milk possible for the best flavor and texture. Avoid ultra-high temperature (UHT) processed milk, as it may not curdle properly.
- Adjust the Salt: Feel free to adjust the amount of salt based on your taste preference or dietary needs.
- Storing the Cheese: Store the cheese in an airtight container in the refrigerator for up to 5 days. For a longer shelf life, keep the cheese in a brine solution (saltwater) to maintain its freshness.
This Homemade Cheese Recipe is a great way to enjoy fresh, healthy cheese that’s free from preservatives and artificial additives. With its soft texture and mild flavor, it’s versatile enough to be used in a variety of dishes or simply enjoyed on its own. Enjoy the process of making and savoring your very own homemade cheese!

