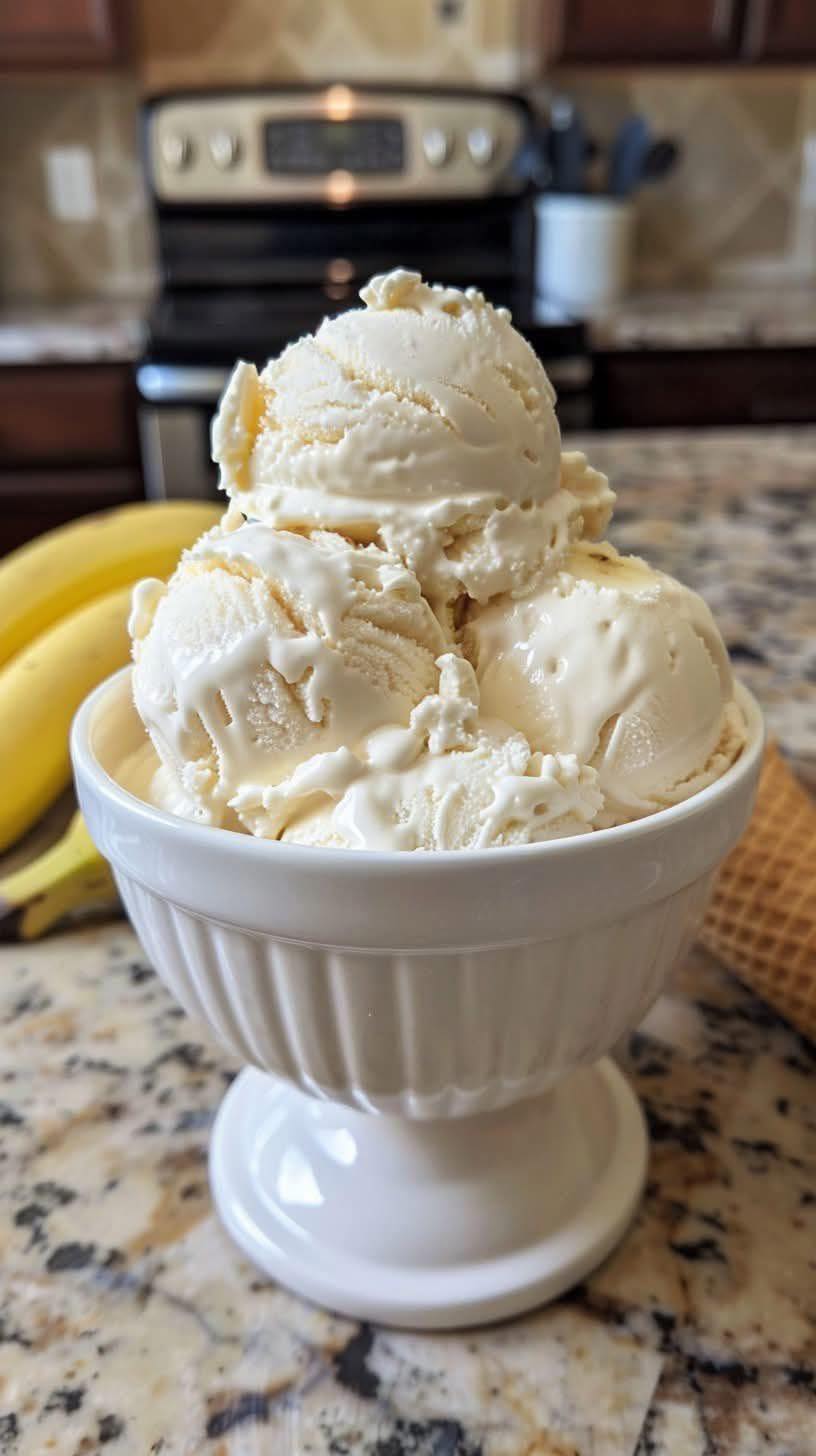
Homemade No-Churn Banana Ice Cream
This recipe yields a rich, creamy, and naturally sweet banana ice cream without the need for an ice cream maker. The key is ripe bananas and whipped cream for that airy texture.
Yields: Approximately 1 quart (4 servings) Prep time: 20 minutes Chill time: 6-8 hours (or overnight)
Ingredients:
- 2 large (or 3 medium) ripe bananas, peeled and very ripe (look for brown spots on the peel)
- 1 can (14 ounces / 397g) full-fat sweetened condensed milk
- 2 cups (480ml) cold heavy cream (or heavy whipping cream)
- 1 teaspoon pure vanilla extract
- 1/4 teaspoon salt (enhances flavor)
- Optional add-ins:
- 1/2 cup chopped walnuts or pecans
- 1/2 cup chocolate chips (mini or regular)
- 1/4 cup caramel sauce (swirled in)
- 1/2 teaspoon cinnamon or nutmeg for spiced banana ice cream
Equipment:
- Large mixing bowl
- Electric mixer (stand mixer with whisk attachment or hand mixer)
- Spatula
- Loaf pan (9×5 inch / 23×13 cm) or an airtight freezer-safe container
Instructions:
- Prepare the Bananas:
- In your large mixing bowl, mash the ripe bananas thoroughly with a fork until almost smooth. A few small lumps are fine and can add to the texture. Alternatively, you can use a potato masher or even blend them briefly in a food processor for a super smooth puree.
- Stir in the sweetened condensed milk, vanilla extract, and salt into the mashed bananas. Mix until well combined. This will be your banana base.
- Whip the Heavy Cream:
- In a separate, clean large mixing bowl (or the bowl of your stand mixer), pour in the cold heavy cream.
- Using an electric mixer with the whisk attachment, beat the heavy cream on medium-high speed until stiff peaks form. This means when you lift the whisk, the cream holds its shape firmly. Be careful not to overbeat, or it will turn into butter.
- Combine the Mixtures:
- Add about one-third of the whipped cream to the banana-condensed milk mixture. Gently fold it in with a spatula to lighten the base. This step helps to make it easier to incorporate the rest of the whipped cream without deflating it too much.
- Add the remaining whipped cream to the banana mixture. Gently fold it in using a spatula until no white streaks of cream remain. Be gentle to maintain as much air as possible in the mixture, which is crucial for a creamy, scoopable ice cream.
- If using optional add-ins: Fold them in now.
- Transfer to Container:
- Pour the ice cream mixture into your loaf pan or freezer-safe container.
- Smooth the top with a spatula.
- Freeze:
- Cover the container tightly with plastic wrap or a lid.
- Place the container in the freezer for at least 6-8 hours, or preferably overnight, until firm.
Serving Suggestions:
- Allow the ice cream to sit at room temperature for 5-10 minutes before scooping for easier serving.
- Serve in bowls, on cones, or as a topping for desserts like pie or cake.
- Garnish with extra banana slices, a drizzle of chocolate sauce, or a sprinkle of chopped nuts.
Tips for Success:
- Use Very Ripe Bananas: This is crucial for natural sweetness and intense banana flavor. The more brown spots, the better!
- Don’t Over-mix: When folding in the whipped cream, be gentle to keep the mixture light and airy.
- Chill Your Bowl and Whisk: For faster and firmer whipped cream, you can chill your mixing bowl and whisk attachment in the freezer for 10-15 minutes before whipping the cream.
- Store Properly: Keep the ice cream covered tightly in the freezer to prevent ice crystals from forming.
- Experiment with Flavors: Feel free to adjust the amount of vanilla or try other extracts like a hint of rum extract for a banana foster-like flavor.
Enjoy your homemade banana ice cream!

