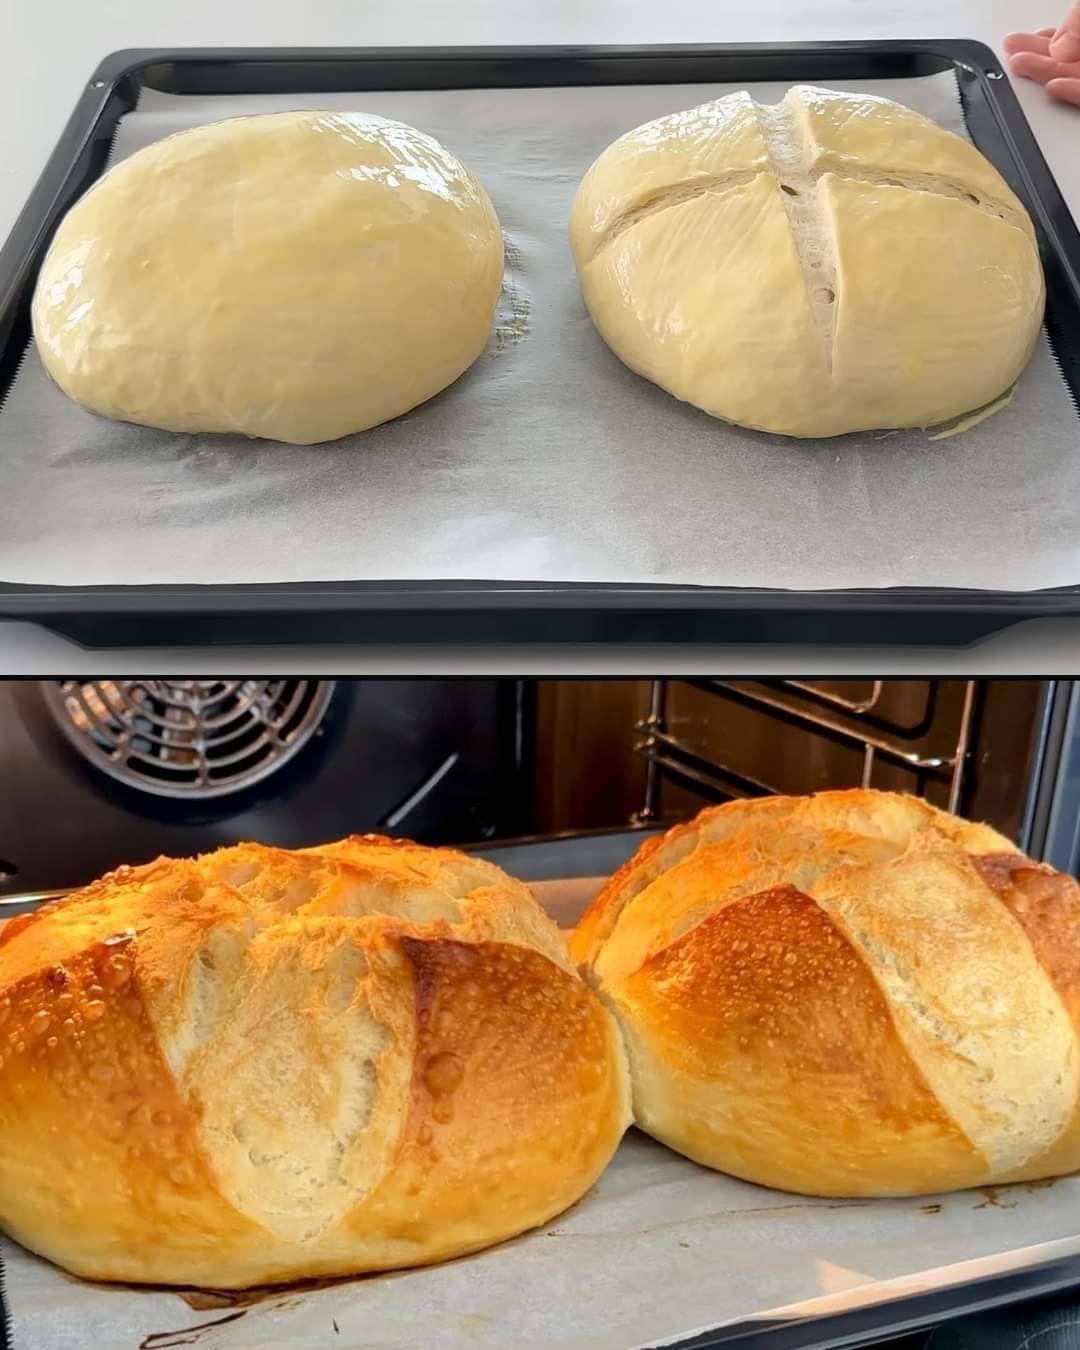
There’s nothing quite like the smell of freshly baked bread wafting through your kitchen. The golden crust, the soft and airy interior, and the satisfaction of knowing you made it yourself—Classic Homemade Bread is the epitome of comfort food. Whether you’re a seasoned baker or a beginner, this recipe is perfect for anyone who wants to experience the joy of homemade bread without the complexity of intricate techniques. With just a few simple ingredients and a little patience, you can enjoy a warm loaf of bread that’s perfect for sandwiches, toast, or just eating on its own with butter.
Making bread at home can seem intimidating, but with this straightforward recipe, you’ll see just how easy it is to create a soft, fluffy loaf from scratch. The result is a perfect balance of flavor and texture—crusty on the outside, soft and pillowy on the inside. Plus, you get to control exactly what goes into your bread, ensuring it’s fresh and free from preservatives.
Ingredients for Classic Homemade Bread:
- 3 1/2 cups all-purpose flour (plus more for kneading)
- 1 packet active dry yeast (about 2 1/4 teaspoons)
- 1 cup warm water (about 110°F/43°C)
- 2 tablespoons granulated sugar
- 1 1/2 teaspoons salt
- 2 tablespoons olive oil (or melted butter)
- Optional: 1 tablespoon milk (for a slightly softer crust)
INSTRUCTIONS:
Method: How to Make Classic Homemade Bread
Step 1: Activate the Yeast
In a small bowl, combine the warm water and sugar. Stir until the sugar is dissolved, then sprinkle the active dry yeastover the water. Let it sit for about 5-10 minutes. The yeast should bubble and foam, which means it’s activated and ready to use. If the mixture doesn’t foam, the yeast may be expired, and you’ll need to try with a fresh packet.
Step 2: Mix the Dough
In a large mixing bowl, combine the flour and salt. Make a well in the center and pour in the yeast mixture along with the olive oil. Stir with a wooden spoon or spatula until the dough begins to come together. The dough should be slightly sticky but not wet. If it’s too dry, add a little more water, one tablespoon at a time. If it’s too sticky, add a bit more flour.
Step 3: Knead the Dough
Transfer the dough to a floured surface and knead for about 8-10 minutes. To knead, fold the dough in half, press it down with the heels of your hands, and then turn it a quarter turn and repeat. Continue kneading until the dough is smooth and elastic. It should be slightly tacky but not sticky. If you press it with your finger, the dough should slowly spring back.
Step 4: First Rise
Place the kneaded dough into a greased bowl, turning it around to coat all sides with oil. Cover the bowl with a clean kitchen towel or plastic wrap and let it rise in a warm, draft-free area for about 1-1 1/2 hours, or until the dough has doubled in size. The time it takes to rise may vary depending on the temperature of your kitchen.
Step 5: Shape the Dough
Once the dough has risen, punch it down to release the air bubbles. Turn it out onto a lightly floured surface and shape it into a loaf. To shape, gently flatten the dough into a rectangle, then fold in the sides and roll it up tightly. Pinch the seam at the bottom to seal it.
Step 6: Second Rise
Place the shaped dough into a greased 9×5-inch loaf pan, seam side down. Cover it again with a towel or plastic wrap and let it rise for another 30-45 minutes, or until it has risen just above the edge of the pan. During this time, preheat your oven to 375°F (190°C).
Step 7: Bake the Bread
Once the dough has risen for the second time, place the pan in the preheated oven and bake for 25-30 minutes, or until the top of the bread is golden brown and sounds hollow when tapped. If you have a kitchen thermometer, the internal temperature of the bread should be around 190°F (88°C) when fully cooked.
Step 8: Cool the Bread
Remove the bread from the oven and turn it out onto a wire rack to cool. Let it cool for at least 20 minutes before slicing—this allows the crumb to set properly.

