INSTRUCTIONS:
Prepare the Chocolate Mixture:
- Melt the Chocolate and Butter:
- In a medium saucepan, combine the chocolate chips, peanut butter (if using), unsalted butter, and corn syrup. Place the saucepan over low heat and stir constantly until the mixture is smooth and fully melted.
- Add Vanilla and Salt:
- Once the mixture is melted, remove the saucepan from the heat. Stir in the vanilla extract and salt, mixing well to combine all the ingredients.
Combine with Rice Krispies:
- Mix in the Rice Krispies:
- In a large mixing bowl, pour the melted chocolate mixture over the Rice Krispies cereal. Using a spatula, gently fold the cereal into the chocolate mixture until all the cereal is evenly coated.
Shape the Balls:
- Form the Balls:
- Allow the mixture to cool slightly, just until it’s cool enough to handle. Using your hands, form the mixture into small balls, about 1-2 inches in diameter. If the mixture is too sticky, lightly grease your hands with butter or cooking spray.
- Add Toppings (Optional):
- If you’d like, roll the chocolate balls in your choice of toppings, such as sprinkles, crushed nuts, or shredded coconut. Press the toppings gently into the surface to ensure they stick.
Chill and Serve:
- Chill the Balls:
- Place the formed balls on a baking sheet lined with parchment paper. Transfer the sheet to the refrigerator and chill the balls for at least 30 minutes, or until they are firm and set.
- Serve and Enjoy:
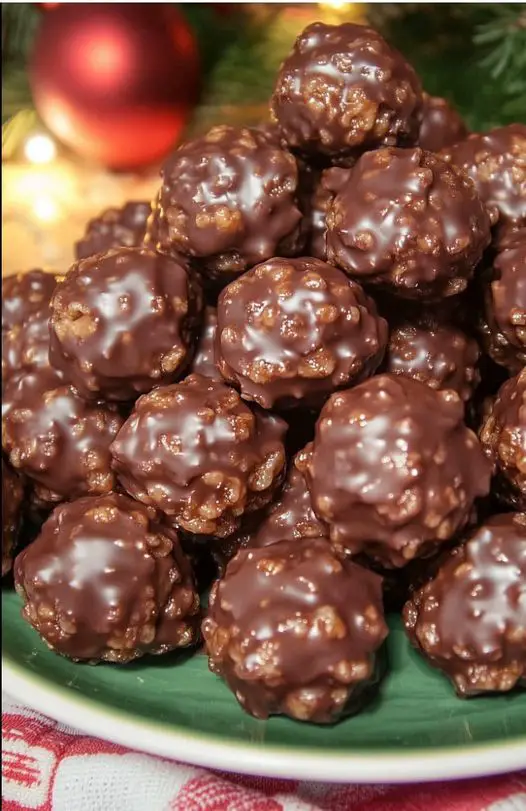
- Once chilled, the Chocolate Rice Krispie Balls are ready to serve. Arrange them on a platter or store them in an airtight container in the refrigerator until ready to eat.
Tips for Perfect Chocolate Rice Krispie Balls:
- Add a Crunchy Filling: For an extra surprise, try placing a small piece of chocolate, a marshmallow, or a nut in the center of each ball before rolling them.
- Use Different Chocolates: You can easily switch up the flavor by using milk chocolate, white chocolate, or even dark chocolate chips in place of semisweet chocolate.
- Customize Your Toppings: Get creative with your toppings. Try dipping the balls in melted chocolate before adding sprinkles, or drizzle them with caramel for a decadent twist.
- Make It Nut-Free: If you’re making these for a group with allergies, you can omit the peanut butter or replace it with sunflower seed butter for a nut-free version.

