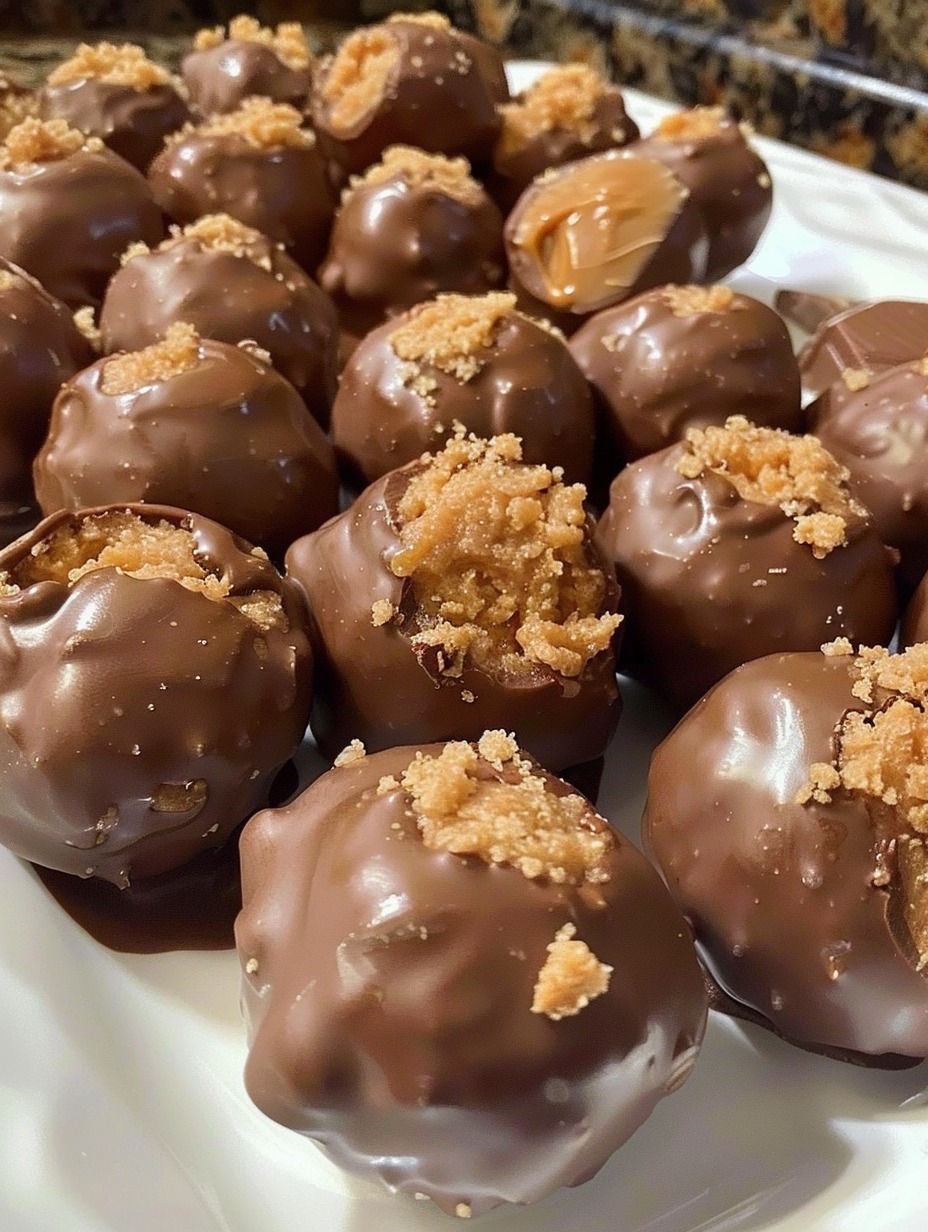
If you’re a fan of Butterfinger candy bars, you’re going to love Butterfinger Balls. These delightful treats capture the sweet, crunchy essence of the classic candy bar in bite-sized, no-bake morsels. Perfect for parties, holiday gatherings, or just a fun kitchen project, Butterfinger Balls are easy to make and irresistibly delicious.
Butterfinger Balls are a fantastic treat that combines the best of creamy peanut butter and crunchy Butterfinger candy in a rich chocolate coating. Easy to make and even easier to eat, these bite-sized delights are sure to become a favorite in your dessert repertoire. Enjoy making and sharing these sweet treats with friends and family!!
Here’s how to create this simple yet scrumptious dessert.
INGREDIENTS:
- 2 cups crushed Butterfinger candy bars
- 1 cup creamy peanut butter
- 2 cups powdered sugar
- 1/4 cup unsalted butter, softened
- 2 cups milk chocolate chips
- 1 tablespoon vegetable oil
INSTRUCTIONS:
- Crush the Butterfinger Bars:
- Place the Butterfinger candy bars in a resealable plastic bag and crush them into small pieces using a rolling pin. Alternatively, you can use a food processor to achieve a fine, crumbly texture.
- Combine the Peanut Butter Mixture:
- In a large mixing bowl, combine the creamy peanut butter, powdered sugar, and softened butter. Mix until smooth and well combined. You can use an electric mixer or mix by hand with a sturdy spatula.
- Add the Crushed Butterfinger:
- Stir the crushed Butterfinger pieces into the peanut butter mixture. Mix until the candy is evenly distributed throughout the dough.
- Form the Balls:
- Using a small cookie scoop or a tablespoon, scoop out portions of the mixture and roll them into balls. Place the balls on a baking sheet lined with parchment paper. Once all the mixture is used, refrigerate the balls for at least 30 minutes to firm up.
- Prepare the Chocolate Coating:
- In a microwave-safe bowl, combine the milk chocolate chips and vegetable oil. Microwave in 30-second intervals, stirring after each interval, until the chocolate is fully melted and smooth. Be careful not to overheat the chocolate.
- Dip the Balls in Chocolate:
- Remove the chilled Butterfinger balls from the refrigerator. Using a fork or dipping tool, dip each ball into the melted chocolate, ensuring it is fully coated. Allow any excess chocolate to drip off before placing the coated balls back on the parchment-lined baking sheet.
- Set the Coating:
- Once all the balls are coated in chocolate, return them to the refrigerator to set for at least 1 hour, or until the chocolate is firm.
- Serve and Enjoy:
- Once the chocolate coating is set, your Butterfinger Balls are ready to enjoy. Store them in an airtight container in the refrigerator to keep them fresh.
Tips and Variations:
- Decorate with Toppings: For added flair, sprinkle crushed Butterfinger pieces or colorful sprinkles on top of the chocolate coating before it sets.
- Different Flavors: Experiment with different types of chocolate for coating, such as dark chocolate or white chocolate, to create variety.
- Holiday Twist: Add a festive touch by incorporating holiday-themed sprinkles or colored candy melts into the coating process.
- Storage: Butterfinger Balls can be stored in the refrigerator for up to 2 weeks. They can also be frozen for longer storage; just thaw them in the refrigerator before serving.
Why This Recipe Works:
- No-Bake Simplicity: This recipe requires no baking, making it quick and easy to prepare.
- Crunchy and Creamy: The combination of creamy peanut butter and crunchy Butterfinger pieces creates a delightful texture contrast.
- Chocolate Coating: The milk chocolate coating adds a smooth, sweet finish that perfectly complements the peanut butter and candy filling.
- Crowd-Pleaser: Butterfinger Balls are always a hit at parties and gatherings, pleasing both kids and adults alike.

