1 cup granulated sugar
1 teaspoon baking powder
1/2 teaspoon baking soda
1/2 teaspoon salt
1 cup crushed pineapple, drained
2 large eggs
1/2 cup vegetable oil
1 teaspoon vanilla extract
1/2 cup chopped walnuts (optional)
A fun, modern twist on traditional Japanese rice balls (onigiri), Onigirazu is layered like a sandwich and wrapped in nori—perfect for bento boxes, road trips, or fuss-free lunches. It’s like sushi, but easier to make and eat!
Base Ingredients (for 4 sandwiches):
2 cups cooked Japanese short-grain rice (warm, not hot)
1 tbsp rice vinegar
½ tsp sugar
¼ tsp salt
4 full-size sheets of nori (seaweed), uncut
Filling Suggestions (mix & match to your taste):
Proteins: Cooked teriyaki chicken, grilled tofu, seared tuna, tamagoyaki (Japanese omelet), crispy pork katsu, or spam
Veggies: Sliced avocado, cucumber matchsticks, shredded carrots, pickled radish, or sautéed mushrooms
Greens: Baby spinach, romaine, or lettuce leaves
Extras: Fried egg, spicy mayo, Japanese mayo, sesame seeds, soy sauce, wasabi, or pickled ginger
✅ Feel free to get creative—combine textures and flavors like creamy (avocado), crunchy (carrot), and umami-rich (soy or teriyaki).
Prepare seasoned sushi rice:
While the rice is still warm, gently mix in the rice vinegar, sugar, and salt. Let it cool slightly to room temperature for easier handling (but don’t refrigerate—it becomes hard and sticky).
Set up your workspace:
Lay a large square of plastic wrap or parchment on a clean surface. Place one sheet of nori (shiny side down, rough side up) in the center, positioned like a diamond (corner pointing up).
Add the base layer of rice:
Spoon about ½ cup of rice into the center of the nori. Using damp fingers or a rice paddle, flatten the rice into a square, about 4 inches wide. Don’t press too hard—keep it fluffy but compact.
Layer the fillings:
Add your chosen protein, veggies, and sauce in layers over the rice square. Keep the layers even and centered so it wraps neatly. Add another small scoop (2–3 tbsp) of rice over the top, pressing lightly to hold everything in place.
Wrap it like a gift:
Fold the corners of the nori over the filling—bottom corner first, then top, then sides—creating a neat square parcel. Use the plastic wrap to press and hold the shape firmly. Let it rest for 5–10 minutes, seam side down, to allow the nori to soften and seal.
Slice and serve:
Using a sharp knife dipped in water (to prevent sticking), slice each onigirazu in half diagonally. Wipe the blade between cuts for clean edges.
Prep Time: 15 minutes
Cook Time: 5 minutes (depending on fillings)
Total Time: 20–25 minutes
Makes: 4 Onigirazu sandwiches
Calories: ~300 per sandwich (varies by fillings)
Make-ahead friendly: Wrap tightly in plastic and refrigerate for up to 24 hours. Best enjoyed at room temperature.
Kid-friendly picks: Try mild fillings like tamagoyaki + cucumber or grilled chicken + avocado.
Katsu-style Onigirazu: Bread and fry pork or chicken cutlets, then pair with shredded cabbage and tonkatsu sauce.
Vegetarian idea: Use teriyaki tofu + spinach + pickled daikon + creamy sesame dressing.
Picnic pro tip: Wrap sandwiches in wax paper or parchment for easy unwrapping and cleaner hands on the go.
Whether you’re craving a savory sushi-inspired lunch or prepping a colorful bento box, Onigirazu offers all the flavor of a rice bowl in a perfectly portable square.
Let me know if you’d like printable labels, bento box ideas, or a kid-friendly version!
1 cup milk (dairy or plant-based)
1/2 cup sweetened condensed milk (adjust to taste)
2 tbsp chia seeds or basil seeds (sabja), soaked in water for 10-15 mins
1/2 cup crushed ice or shaved ice (optional for a cold version)
1/2 cup heavy cream or coconut cream
1 tbsp sugar or honey (optional)
Fresh strawberries (halved)
Blueberries
Sliced almonds (toasted optional)
Graham cracker crumbs or mung bean powder (optional)
Prepare the Basil/Chia Seeds:
Soak chia or basil seeds in water for 10-15 minutes until they expand.
Drain and set aside.
Make the Creamy Base:
In a bowl, mix milk with sweetened condensed milk.
Add soaked chia seeds into this mixture.
Chill for 15-20 minutes or serve over ice.
Prepare Whipped or Coconut Cream (optional):
Whip heavy cream with sugar to soft peaks or stir coconut cream until smooth.
Assemble the Dessert:
In a glass, pour in the chia-milk mixture.
Add a layer of whipped or coconut cream.
Sprinkle graham cracker crumbs or mung bean powder on top.
Arrange sliced strawberries, blueberries, and almond slivers.
Serve Immediately:
Best enjoyed cold with a spoon.
This recipe is designed to be easy and uses simple ingredients to achieve a wonderfully smooth and tangy pineapple ice cream.
Yields: Approximately 4 servings Prep time: 10 minutes Freeze time: At least 4-6 hours (or overnight) for traditional ice cream, or 30-60 minutes for soft-serve style if using an ice cream maker.
Enjoy your refreshing homemade pineapple ice cream!
This refreshing sorbet combines the creamy richness of coconut with the bright, cooling notes of fresh mint. Serving it in halved coconut shells adds a beautiful, natural presentation.
Yields: Approximately 4-6 servings Prep time: 20 minutes Chill time (for base): 2-4 hours (or overnight) Churn time: 20-30 minutes (depending on ice cream maker)
For the Sorbet Base:
For Serving & Garnish:
Part 1: Prepare the Coconut Milk for the Sorbet Base
Part 2: Prepare the Mint Simple Syrup
Part 3: Make the Sorbet Base
Part 4: Churn the Sorbet
Part 5: Prepare Coconut Shells and Harden Sorbet
Part 6: Serve and Garnish
Enjoy your delicious and refreshing Coconut-Mint Sorbet in beautiful, natural coconut shells!
Minced Beef Gratin with Cheese Serves 4
Preparation: 15 min | Cooking: 30 min
Ingredients:
400 g minced beef
1 medium onion (100 g)
2 garlic cloves
300 g potatoes
200 ml double cream
100 ml milk
1 tbsp olive oil
150 g grated cheese (mozzarella + cheddar)
1 tbsp butter
Salt, pepper
A few green peppercorns in brine (for decoration)
Preparation Steps
Preparing the Meat Base
Heat the olive oil in a pan. Add the finely chopped onion and sauté until translucent. Then add the chopped garlic and ground beef. Cook until the meat is golden brown. Season with salt and pepper, and set aside.
Mash the potatoes
Peel the potatoes and cook them in salted water for 15-20 minutes until tender. Drain, then mash them with the butter, crème fraîche, and milk. Adjust the seasoning.
Assembling the gratin
Preheat the oven to 200°C.
In a buttered gratin dish, spread the cooked ground beef on the bottom. Cover with a nice layer of creamy mashed potatoes. Finish with a generous layer of grated cheese. Sprinkle with a few green peppercorns for a visual touch.
Baking
Bake for 20-25 minutes, until the top is golden brown and slightly crispy. Tip for making this recipe easier:
Use a hand masher or a food mill for a smooth, effortless mash. Ingredient swap:
Replace the potatoes with cauliflower for a lighter version! Cooking tip:
For an even more golden gratin, grill it for 2-3 minutes at the end of cooking.
Chicken Cordon Bleu Meatloaf
A delicious cross between meatloaf and the famous Chicken Cordon Bleu! This comforting and flavorful dish offers tender meat with a melt-in-your-mouth topping of ham and Swiss cheese. Ingredients:
For the meat and base:
450g ground chicken
1/2 cup breadcrumbs
1/2 cup grated Parmesan cheese
1 egg
For the spices and condiments:
1 teaspoon garlic powder
1 teaspoon onion powder
1/2 teaspoon paprika
1 tablespoon Dijon mustard
Salt and pepper, to taste
For the filling:
6 slices of ham (such as cured ham)
6 slices of Swiss cheese
Others:
1 tablespoon butter (optional, for finishing)
Chopped fresh parsley (for garnish)
Preparation:
Preheat the oven:
Preheat your oven to 190°C (375°F).
Lightly grease a loaf pan or line it with parchment paper to make it easier to remove from the pan. Prepare the meat mixture:
In a large bowl, combine the ground chicken, breadcrumbs, Parmesan cheese, egg, garlic powder, onion powder, paprika, Dijon mustard, salt, and pepper.
Mix well until smooth.
Assemble the meatloaf:
Spread half of the meat mixture over the bottom of the loaf pan, forming an even layer.
Arrange the ham slices on top of this first layer of meat, then top with the Swiss cheese slices.
Then spread the remaining meat mixture over the filling to completely cover the filling. Seal the edges well to enclose the filling.
Add a gourmet touch (optional):
Place a few knobs of butter on top of the meatloaf for a beautiful browning and a richer flavor. Cooking Instructions:
Bake the meatloaf for 35 to 40 minutes, or until golden brown and the internal temperature reaches 75°C. You can check for doneness using a food thermometer.
Serving and Garnish:
Let the meatloaf rest for 5 to 10 minutes before slicing.
Sprinkle with freshly chopped parsley for a touch of freshness and color.
Tip:
Side Dish: This meatloaf pairs perfectly with mashed potatoes, steamed vegetables, or a green salad for a balanced and flavorful meal.
Enjoy!
Looking for a comforting and hearty dish that the whole family will love? Look no further than this delectable Chicken Pot Pie Pasta recipe! Combining the flavors of a classic chicken pot pie with the convenience of pasta, this dish is sure to become a favorite in your household. Packed with tender chicken, colorful vegetables, and a creamy sauce, this recipe is perfect for cozy nights in or special occasions.
By trying out these variations, you can add your own creative spin to the classic Chicken Pot Pie Pasta recipe, making it versatile and adaptable to your taste preferences and dietary needs. Enjoy exploring different flavor combinations and discovering new favorites!
With its creamy sauce, tender chicken, and flaky puff pastry topping, this Chicken Pot Pie Pasta recipe is sure to be a hit at your dinner table. Whether you’re cooking for a family dinner or hosting a special gathering, this dish is a comforting and delicious option that everyone will love. Give it a try and enjoy the comforting flavors of chicken pot pie in pasta form!
Broccoli Chicken Cheese Casserole
Ingredients:
2 cups cooked chicken breast, shredded or diced (rotisserie chicken works great)
3 cups fresh or frozen broccoli florets
2 cups cooked rice (white, brown, or cauliflower rice for a low-carb option)
1 ½ cups shredded cheddar cheese (divided)
1 cup sour cream
½ cup mayonnaise (or Greek yogurt for a healthier option)
1 teaspoon garlic powder
1 teaspoon onion powder
1/2 teaspoon salt (or to taste)
1/2 teaspoon black pepper
1 tablespoon olive oil or butter (for greasing the casserole dish)
Optional: ½ cup breadcrumbs (for topping, for a crunchy finish)
Instructions:
1. Preheat the Oven:
Preheat your oven to 375°F (190°C). Grease a 9×13-inch casserole dish with olive oil or butter.
2. Blanch the Broccoli:
If you’re using fresh broccoli, blanch it by placing the florets in boiling water for about 2 minutes. Then, immediately transfer them to ice water to stop the cooking process. If you’re using frozen broccoli, just thaw and drain the excess water.
3. Prepare the Casserole Mixture:
In a large mixing bowl, combine the shredded or diced chicken, cooked rice, broccoli florets, 1 cup of shredded cheddar cheese, sour cream, mayonnaise, garlic powder, onion powder, salt, and pepper. Mix well until everything is evenly combined.
4. Assemble the Casserole:
Transfer the mixture to the greased casserole dish and spread it out evenly.
Sprinkle the remaining ½ cup of shredded cheddar cheese over the top. If you’re using breadcrumbs, sprinkle them on top as well for a nice crispy crust.
5. Bake:
Bake the casserole in the preheated oven for about 25-30 minutes, or until the cheese is melted and bubbly and the top is lightly golden.
6. Serve:
Once it’s done, remove from the oven and let it cool for a few minutes before serving.~~
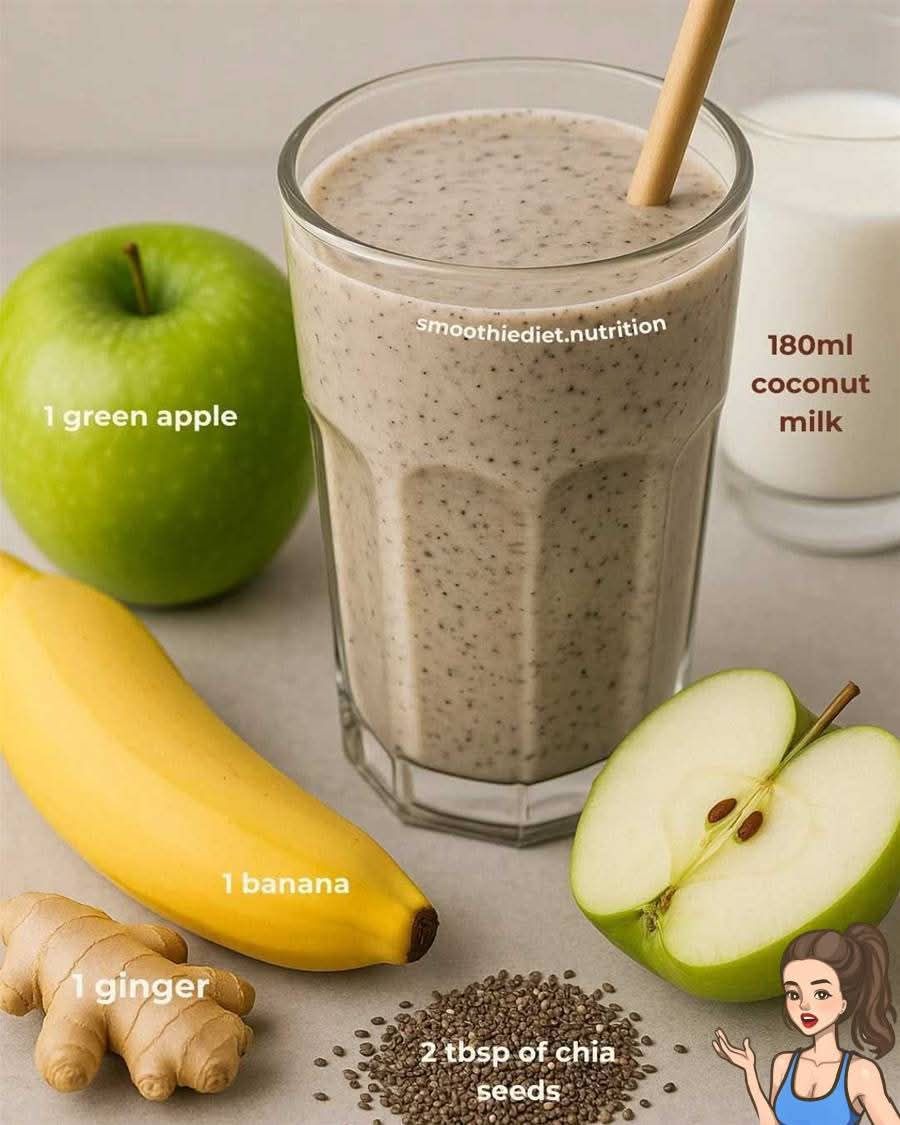
This vibrant and healthy smoothie is packed with nutrients and has a naturally sweet flavor.
Yields: 1-2 servings Prep time: 5-10 minutes
Enjoy your homemade beetroot, banana, and carrot smoothie!
Sometimes, the simplest remedies are the most effective. When popular wisdom meets modern science, everyday ingredients like milk and cinnamon transform into true allies for your well-being.
Used separately, both milk and cinnamon offer numerous health benefits—but when combined, their effects can be even more impressive. Here’s a closer look at why you might want to enjoy this soothing drink, especially before bed.
Cinnamon helps stimulate blood circulation and provides an energy boost, which can support your body’s natural defenses at the onset of flu or allergies.
When to drink: At the start of symptoms (fatigue, chills, sore throat).
What it helps with: Dry coughs, fatigue, and low energy.
❗ Note: Not recommended during the elimination phase of a flu (e.g., when mucus is present), as it may not help and could irritate the respiratory tract.
Both milk and cinnamon contain components that can promote healthy metabolism and reduce bloating:
Milk provides:
Niacin – helps your body process sugars.
Riboflavin – supports energy production and nervous system function.
Calcium & Potassium – reduce water retention and aid muscle function.
Cinnamon offers:
Thermogenic effect – raises body temperature and promotes fat burning.
Blood sugar control – curbs cravings and helps regulate energy levels, ideal for those looking to reduce sugar intake.
The riboflavin and vitamin B12 in milk play key roles in nerve health and mood regulation, making this drink a natural stress reliever.
Cinnamon adds a sweet aroma and balances blood sugar, helping you feel emotionally and physically stable.
Great for evening relaxation or to calm down after a stressful day.
If you’re struggling with insomnia or restless nights, this comforting drink may help:
Milk contains:
Tryptophan – an amino acid that boosts serotonin and helps produce melatonin, your body’s natural sleep hormone.
Vitamin B12 – essential for a well-functioning nervous system and stable mood.
Cinnamon helps stabilize blood sugar, preventing nighttime energy spikes that interfere with sleep.
️ Drink 30 minutes before bedtime for the best effect.
Minerals like calcium, potassium, manganese, and iron found in milk can ease premenstrual discomfort and cramping.
When to start drinking: A few days before your period starts (during the premenstrual phase).
Cinnamon can enhance circulation and relieve tension in the lower abdomen.
⚠️ Important Warning:
Milk with cinnamon should not be consumed by women with a delayed period or possible pregnancy, as cinnamon may stimulate uterine contractions and pose a risk of miscarriage.
This quick recipe is ideal as a bedtime drink or a gentle health booster during the day.
1 glass of milk (whole or skim, depending on your diet)
1 stick of cinnamon (avoid powdered cinnamon for this preparation)
Pour the milk into a small saucepan and add the cinnamon stick.
Heat gently until it just begins to boil.
Turn off the heat, cover the pan, and let it sit until it cools to a warm, drinkable temperature.
Remove the cinnamon stick and drink warm (not too hot or cold, to avoid disrupting body temperature).
Avoid sweeteners for maximum health benefits, or use a small amount of honey (optional).
Drink regularly before bed for improved sleep and long-term wellness.
Choose organic milk and Ceylon cinnamon if possible, for better nutrient content and lower toxin risk.
Benefit | How it Helps |
---|---|
Flu Relief | Boosts circulation and immunity (early stage only) |
⚖️ Weight Loss | Controls sugar, reduces bloating, boosts fat burning |
Calming | Relaxes nerves, lowers stress |
Sleep Aid | Promotes melatonin production, stabilizes energy |
Menstrual Relief | Eases cramps when taken in premenstrual phase |
Milk with cinnamon is more than a comforting nighttime drink—it’s a natural remedy that supports various aspects of physical and emotional health. Whether you’re seeking better sleep, a natural energy lift, or hormonal balance, this simple beverage is worth adding to your routine—with the proper precautions.
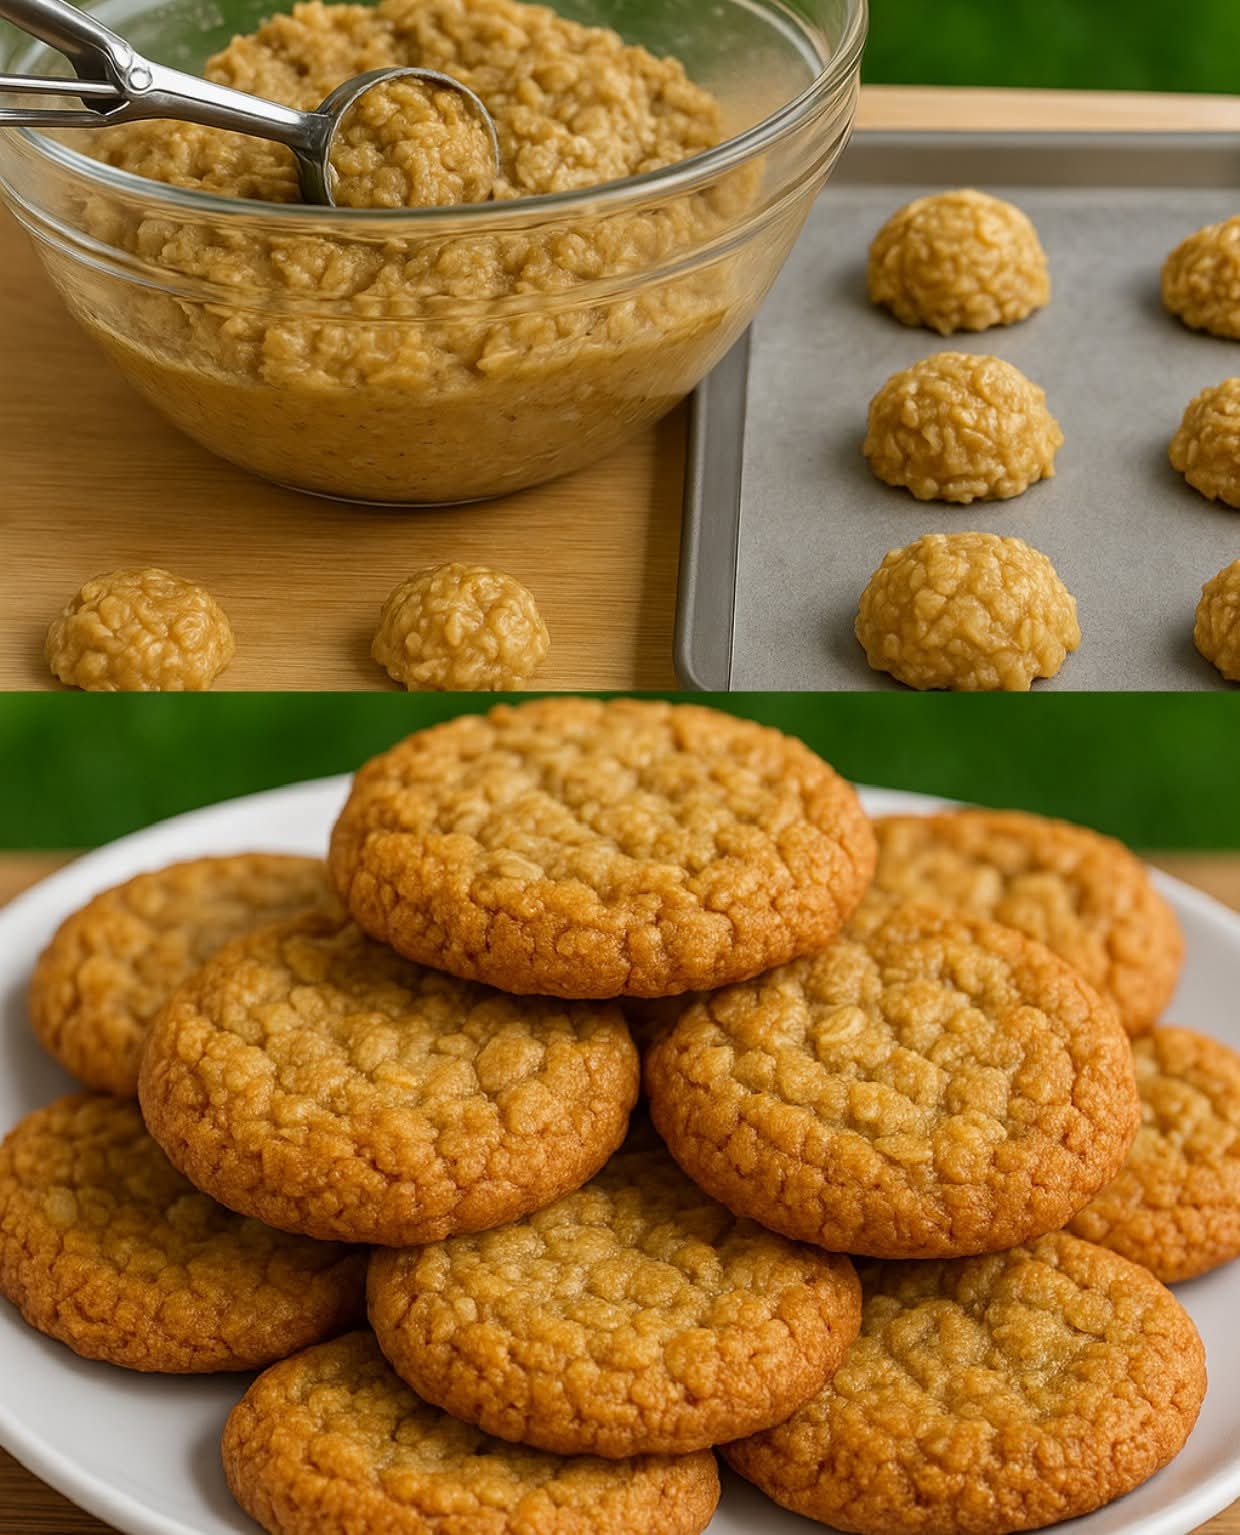
Say goodbye to store-bought cookies packed with preservatives, and hello to these naturally gluten-free, low-sugar, and easy-to-make delights. Whether you’re looking for a nutritious snack for kids, a wholesome dessert, or a thoughtful homemade gift, these cookies check all the boxes.
Crunchy, lightly sweet, and full of fiber and healthy fats.
1 large egg
3 tablespoons brown sugar or coconut sugar
2 tablespoons coconut oil (melted)
2 tablespoons powdered coconut milk
1¾ cups oat flour (gluten-free certified)
(Optional: 1 teaspoon vanilla extract or cinnamon for extra flavor)
Measuring cup size: 240 ml
You can make oat flour at home by blending gluten-free oats until fine.
Preheat the Oven
Set your oven to 180°C (350°F) and line a baking sheet with parchment paper or lightly grease it with coconut oil.
Mix Wet Ingredients
In a medium bowl, whisk the egg and sugar together until well combined and slightly creamy.
Add Oil and Milk Powder
Stir in the melted coconut oil and powdered coconut milk, mixing until smooth.
Incorporate Oat Flour
Add the oat flour gradually, stirring with a spoon or your hands until the dough comes together and stops sticking to your fingers.
Roll and Cut
Place the dough between two pieces of plastic wrap or parchment paper. Roll it out to your desired thickness—thinner dough makes crispier cookies.
Shape the Cookies
Use fun cookie cutters for kid-friendly shapes, or simply cut into circles or squares with a knife.
Bake
Transfer the cookies to your prepared baking sheet. Bake for 8–10 minutes, or until the edges are lightly golden.
Cool
Remove from the oven and place cookies on a wire rack to cool. They’ll crisp up as they cool.
Store
Once cooled, store in an airtight container at room temperature for up to a week.
Rich in chocolate flavor, crisp on the outside, and just sweet enough.
1 large egg
3 tablespoons sugar (brown, white, or coconut)
2 tablespoons coconut oil (melted)
2 tablespoons powdered milk
(For dairy-free, use powdered coconut milk)
¼ cup unsweetened cocoa powder (preferably 50% or higher)
1 cup gluten-free flour mix (store-bought or homemade)
For the flour mix, use a blend of rice flour, tapioca starch, and potato starch if making at home.
Preheat Oven
Heat your oven to 180°C (350°F) and prepare a baking sheet with parchment paper.
Combine Wet Ingredients
In a bowl, beat the egg, sugar, and melted coconut oil until the mixture is well blended.
Add Cocoa & Milk Powder
Stir in the cocoa powder and milk powder until fully incorporated.
Mix in Flour
Gradually add the gluten-free flour mix, kneading lightly until a soft, pliable dough forms and doesn’t stick to your hands.
Roll Out the Dough
Place the dough between sheets of parchment paper or plastic wrap and roll it out to about ¼ inch (0.5 cm) thickness.
Cut into Shapes
Use round cookie cutters or any fun shape of your choice. Round ones resemble store-bought cookies for a classic look.
Bake
Place the shaped cookies on the baking sheet. Bake for 10–12 minutes or until the edges firm up slightly. Don’t overbake—cookies continue to harden as they cool.
Cool Completely
Transfer to a wire rack and let cool before storing.
Store
Keep in an airtight container at room temperature for up to 7 days. They remain crisp and flavorful!
Dough Too Sticky? Add a bit more flour (oat or gluten-free blend) 1 tablespoon at a time.
Want Softer Cookies? Roll them a bit thicker and bake for less time (around 8 minutes).
Add-ins: Feel free to mix in mini dark chocolate chips, chia seeds, or crushed nuts to either dough for variation.
Kid Tip: Let kids help cut the shapes! It makes snack time extra fun and engaging.
Pair with warm almond or oat milk for a cozy snack.
Pack them in school lunch boxes for a sweet, healthy treat.
Wrap in parchment and tie with a string for a beautiful, homemade gift bag.
Q: Can I use another oil instead of coconut oil?
A: Yes, any neutral oil like avocado or light olive oil works, but coconut oil adds a nice flavor and crisp texture.
Q: Are these cookies suitable for diabetics?
A: While they’re lower in sugar, consult a healthcare provider. You can reduce the sugar or substitute with a natural sweetener like erythritol or stevia.
Q: Can I freeze the dough?
A: Yes! Wrap tightly and freeze for up to 2 months. Thaw in the fridge before rolling and baking.
These gluten-free cookies are easy to make, customizable, and ideal for healthy snacking. Whether you’re baking for yourself, your kids, or friends, they’re guaranteed to be a hit—without the guilt.